National Laboratory Week April 2019
When I am not making art, working as a medical lab technologist (MLT) is my “day job” (though in a 24/7 lab, we work all times of day). In other countries, I might be known as a biomedical scientist, which I personally think sounds way cooler than technologist. Regardless of the title, our role in a patient’s healthcare journey is to analyze samples and provide results that will help healthcare professionals make decisions about a patient’s care. If you ever wondered where your blood, urine, and other samples disappear to following collection, it’s most likely ending up in the hands of an MLT.
Once a year in April, laboratories across the country celebrate Lab Week to bring awareness to a normally behind-the-scenes profession. At my local lab, we decided that designing a t-shirt for our colleagues would boost morale and be a talking point with those outside the lab. My overall concept for the design was to combine numerous drawings of objects typically found in a lab setting.
Here was my process:
I started by taking as many reference photos as I could. Next, I created line drawings from those references using a black marker on bristol.

I scanned all my drawings and composited them in Photoshop, after which I began playing around with colour palettes. To prepare the design for screen printing, I exported the image into Illustrator to create separate vector layers for the lines and fills.


I worked with a local screen printer to get the shirts made - Alpine Print Company in Guelph.
How do you think they turned out?

Me wearing it out in the wild.
But we didn’t stop there!
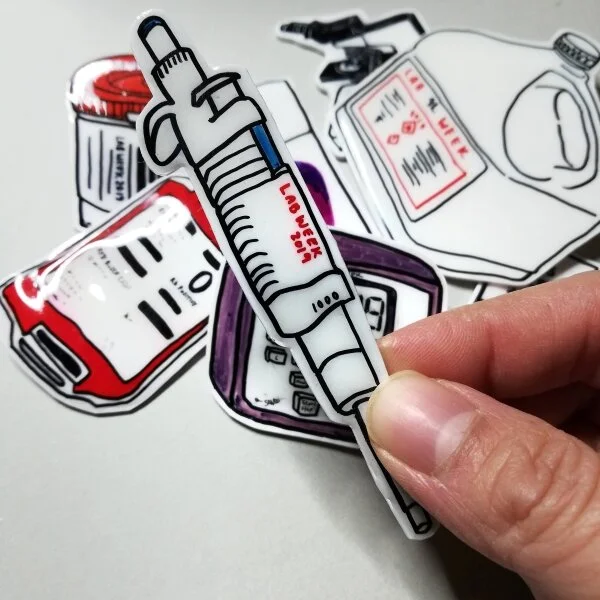
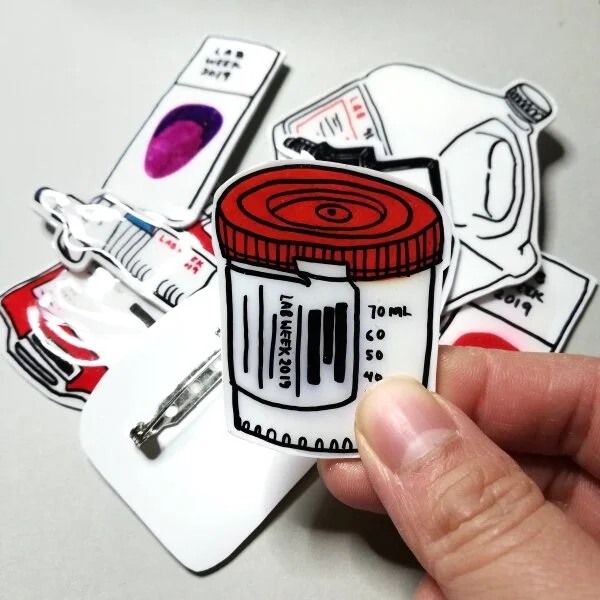
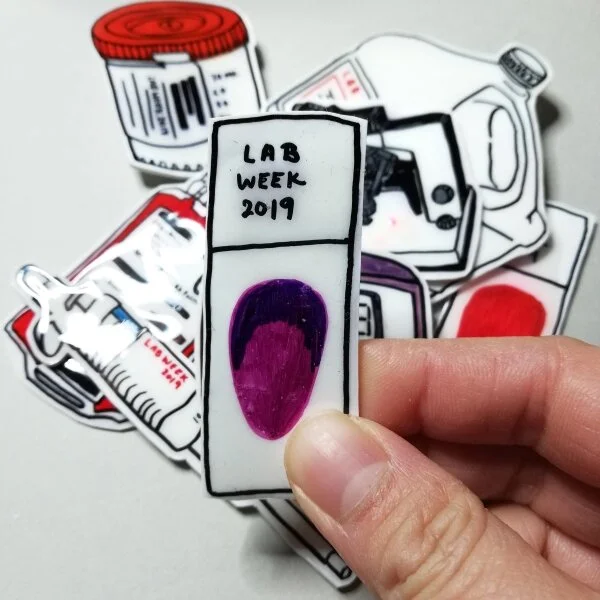
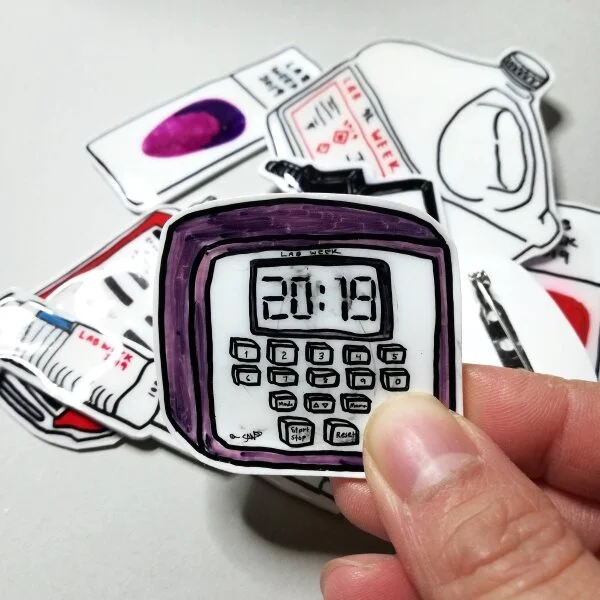
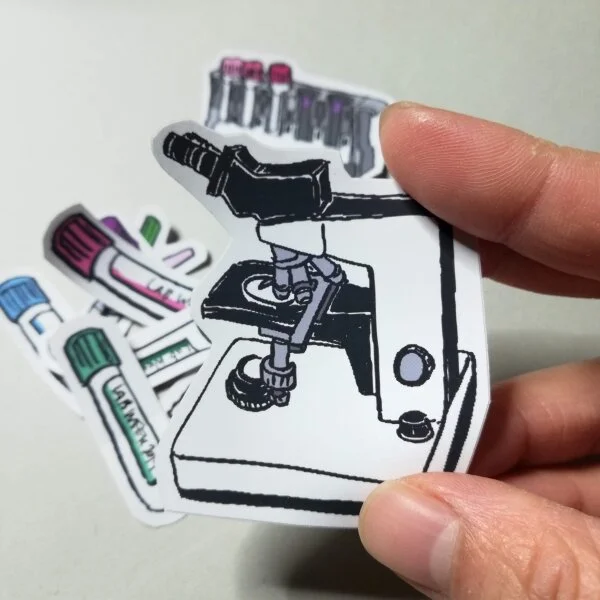
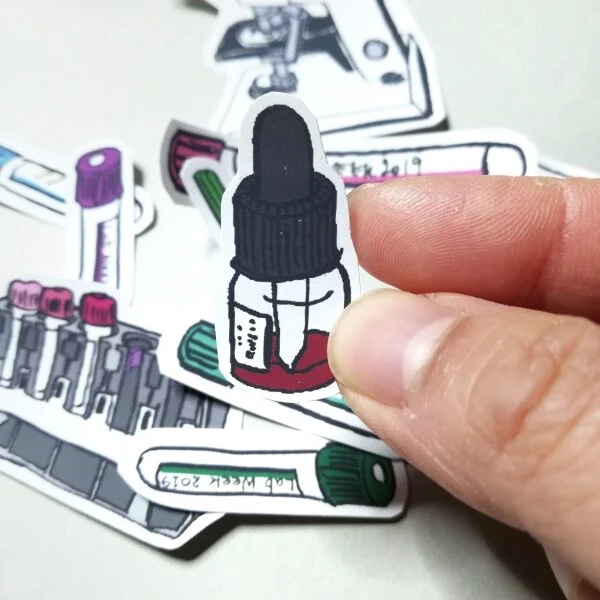
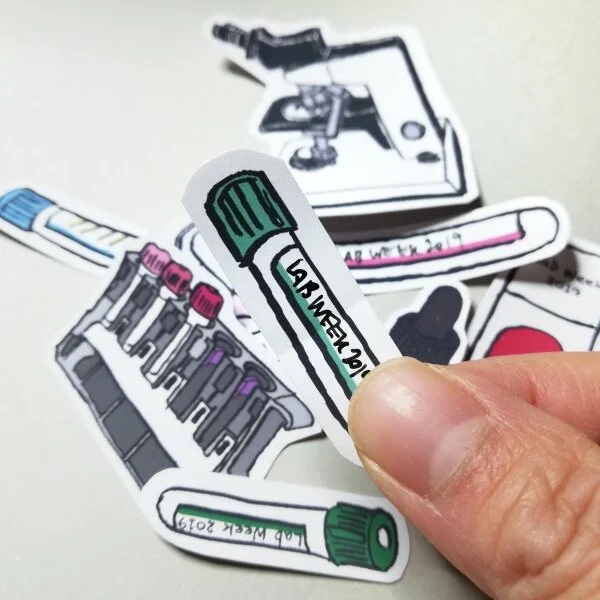
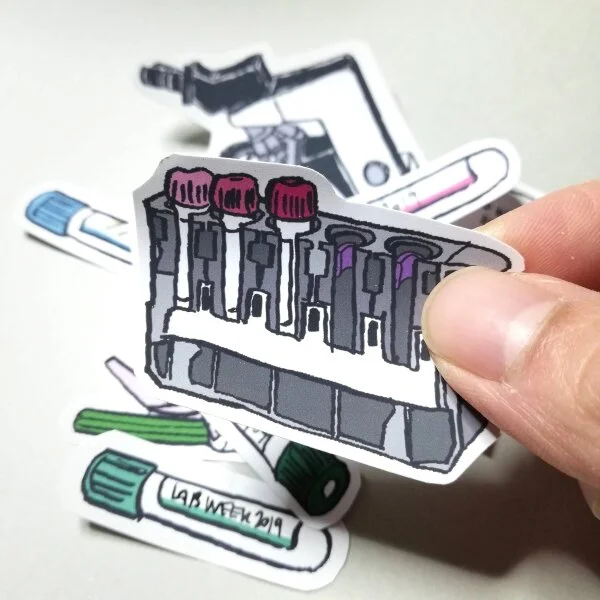
The advantage of having my drawings all scanned into the computer is they can have multiple uses. Another part of our lab week involved some in-house games and prizes for staff. I created a mini escape room puzzle cart and needed small prizes to fit in a box that gamers would try to unlock. The result - handmade pins and stickers.
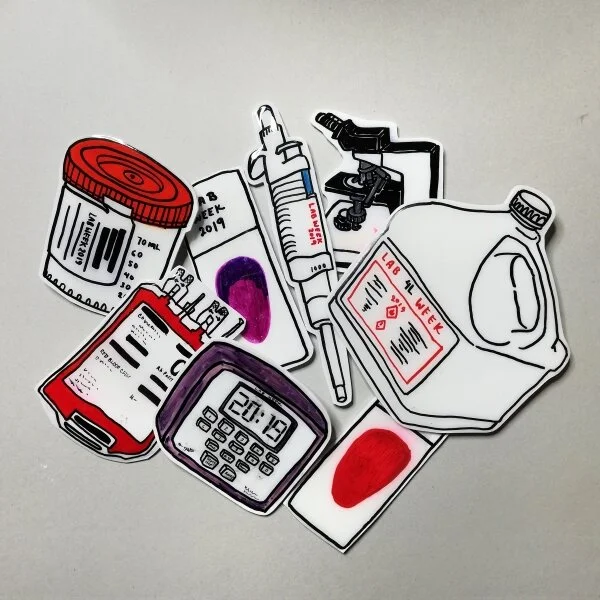
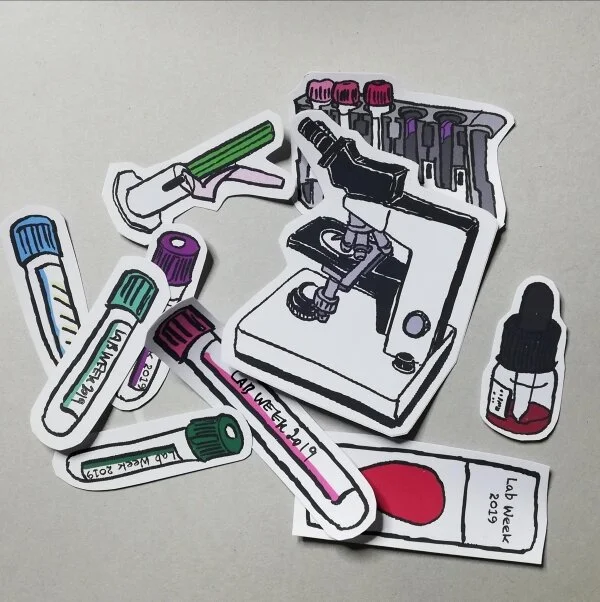
The stickers were pretty simple (though labour intensive) - my friend and I coloured in the line drawings in Photoshop, then printed them out on sticker vinyl and cut them all out by hand.
For the pins, they were made out of shrink plastic so the first thing I needed to do was determine how large I needed to draw out each image in order for it to shrink down to a proper pin size. There were some pretty helpful formulas available online, but of course there still needed to be some trial and error.

Sheet of full size images on the shrink plastic, compared to how they look after baking. We also baked down a test strip of colours for reference.

Some pins didn’t survive the bake…
Once I got the right sizes, I printed out the line drawings in black and white, and used those to trace the images onto the plastic sheets. We used Sharpie markers to outline and colour in each image onto the plastic. Then we had to cut each one out by hand. After baking (watching them shrink in the oven never gets old) I sealed the image side with something called Dimensional Magic by Mod Podge - it’s kind of like a clear resin that creates a dome shape over the image, so it protects and enhances the colours. The last step was to super glue on the pin backing. And repeat 100 more times! It was as intense as it sounds, but the end result was pretty cute.

Fresh out of the oven!